
[Video Transcript]
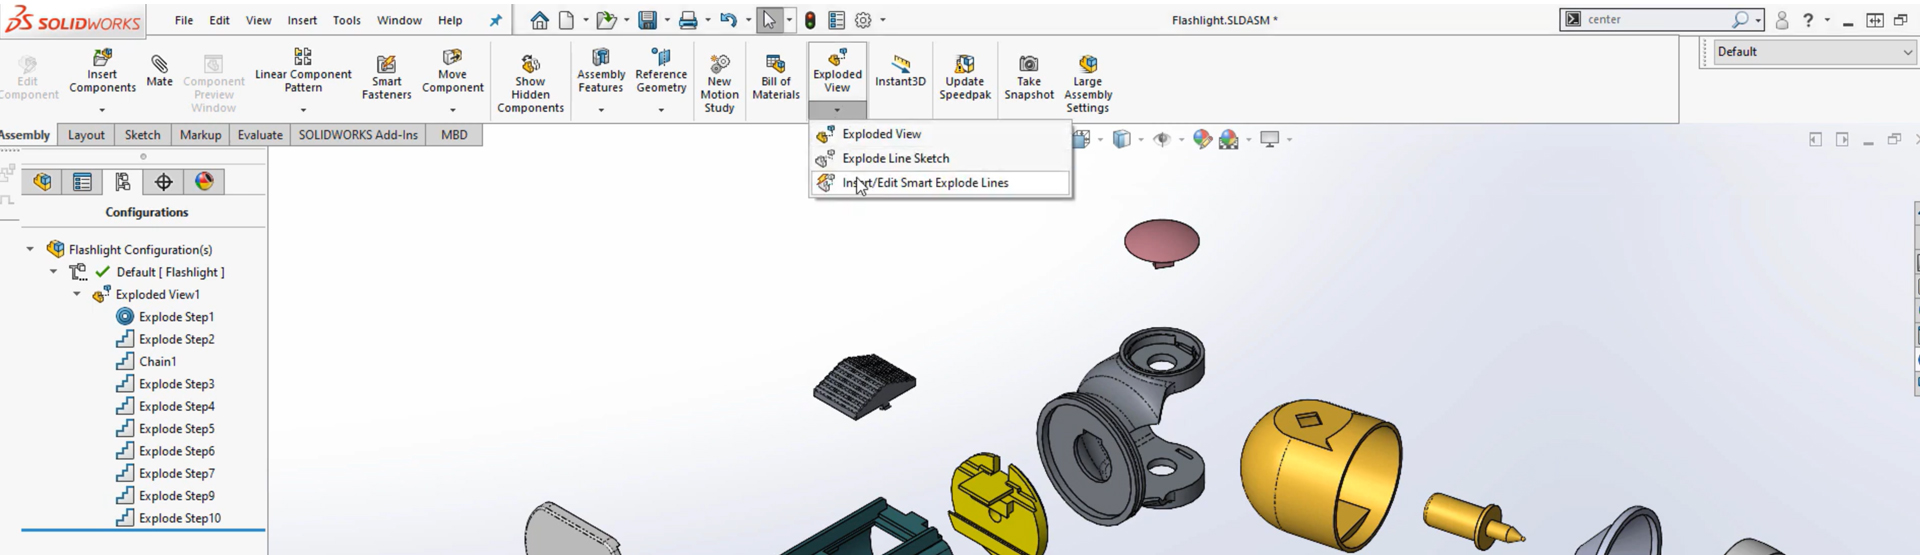
Having created an exploded view in SOLIDWORKS there are two ways of creating an exploded line sketch – both of which can be found by clicking the down arrow under exploded view.
Creating an exploded line sketch in SOLIDWORKS – Method one
The quickest way is to use the ‘insert/edit smart explode lines’. Simply click and SOLIDWORKS creates the lines for you. Components can be omitted by right clicking on them in either the graphics area or in the property manager and selecting delete. The position of the lines can be altered by dragging the purple dots to the desired feature on the component. This modification can then be applied to all instances of that component if desired.
Creating an exploded line sketch in SOLIDWORKS – Method two
The second method of applying explode lines is explode line sketch. Using this method we manually select the items we wish to link together the direction of the resultant lines can be flipped by clicking on the arrow at the corresponding end. The line can also be simplified by un-ticking along XYZ. The best results are obtained by using both methods in conjunction.
About the author: Mark Alexander is an applications engineer on the Innova Systems technical support team. Find out more about Mark here.


