
The GrabCAD library was first created in 2011 as a great way to share design notes by syncing your comments to a specific position in the feature tree. You can then scroll through each feature by clicking the blue arrows.
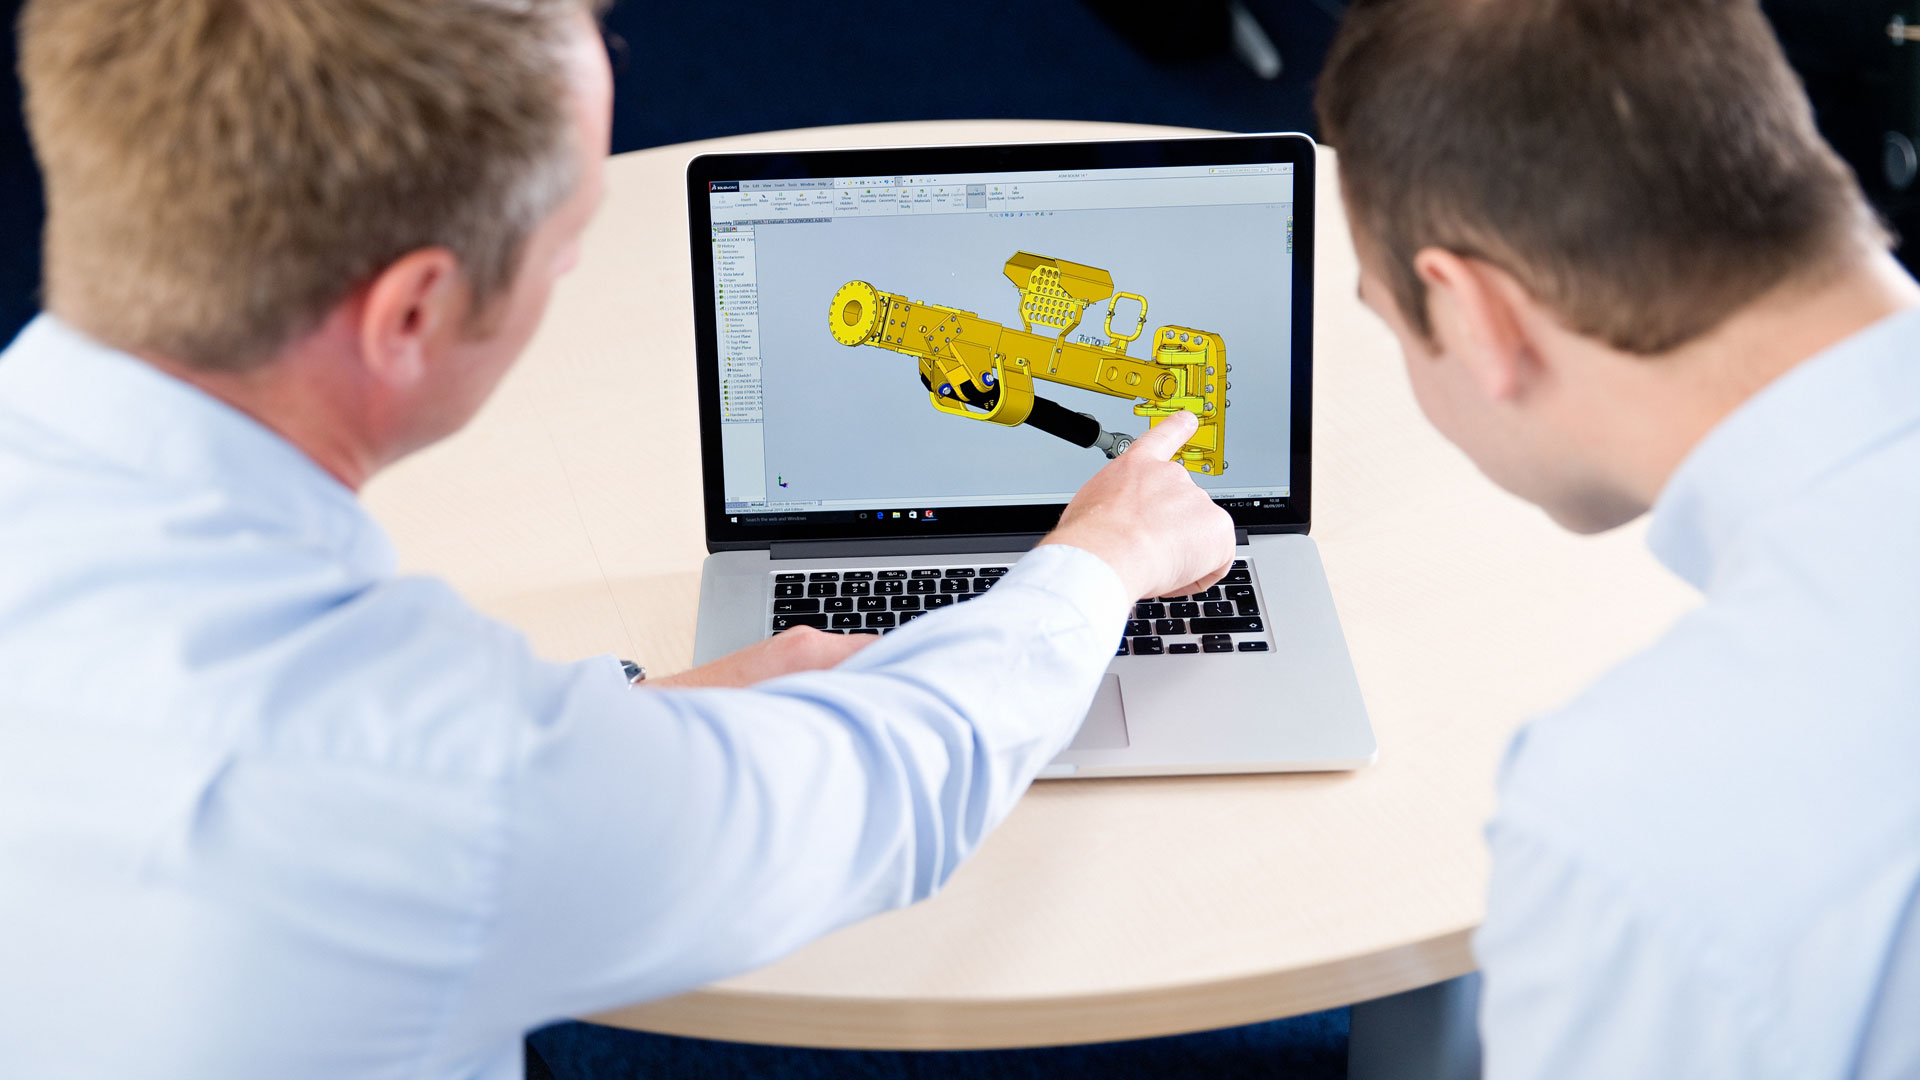
SOLIDWORKS have introduced the SOLIDWORKS Part Reviewer which is used as a tutorial tool to create intuitive visuals for other engineers and designers. There are several steps involved in creating a tutorial using SOLIDWORKS.
Step One: Turn on Part Reviewer
First Open the model in SOLIDWORKS and click Tools > Part Reviewer. This activates a new tab within the task panel and opens the part reviewer tab.
Step Two: Enable Sketch Details
Click on the sketch icon on the Part Reviewer tab to include these in your review.
Step Three: Filter Items with Comments
Comments are left on the important sketches and features and can be sped up further by clicking the bubble icon. This enables the Part Reviewer to skip past the less important features that do not include comments.
Step Four: Edit feature names and comments
The pencil icon allows the feature name and any comments to be edited. The Date/Time stamp to add the current date and time to a comment. Save and Close the feature to update its name and comments or click Delete to remove comments.
Step Five: Browse and review
The Blue Arrows allow you to navigate through the feature tree while reading any comments posted by the designer. By moving back and forth you can see how the model progresses over time. Furthermore any hidden comments are easily viewable by selecting the glasses icon.


