

There are some excellent tools In SOLIDWORKS Professional and Premium that allow you to create photorealistic rendering of your models (Photoview 360 & SOLIDWORKS Visualize). These tools are not available to SOLIDWORKS Standard users, but it is still possible to output good quality images. Here’s how…
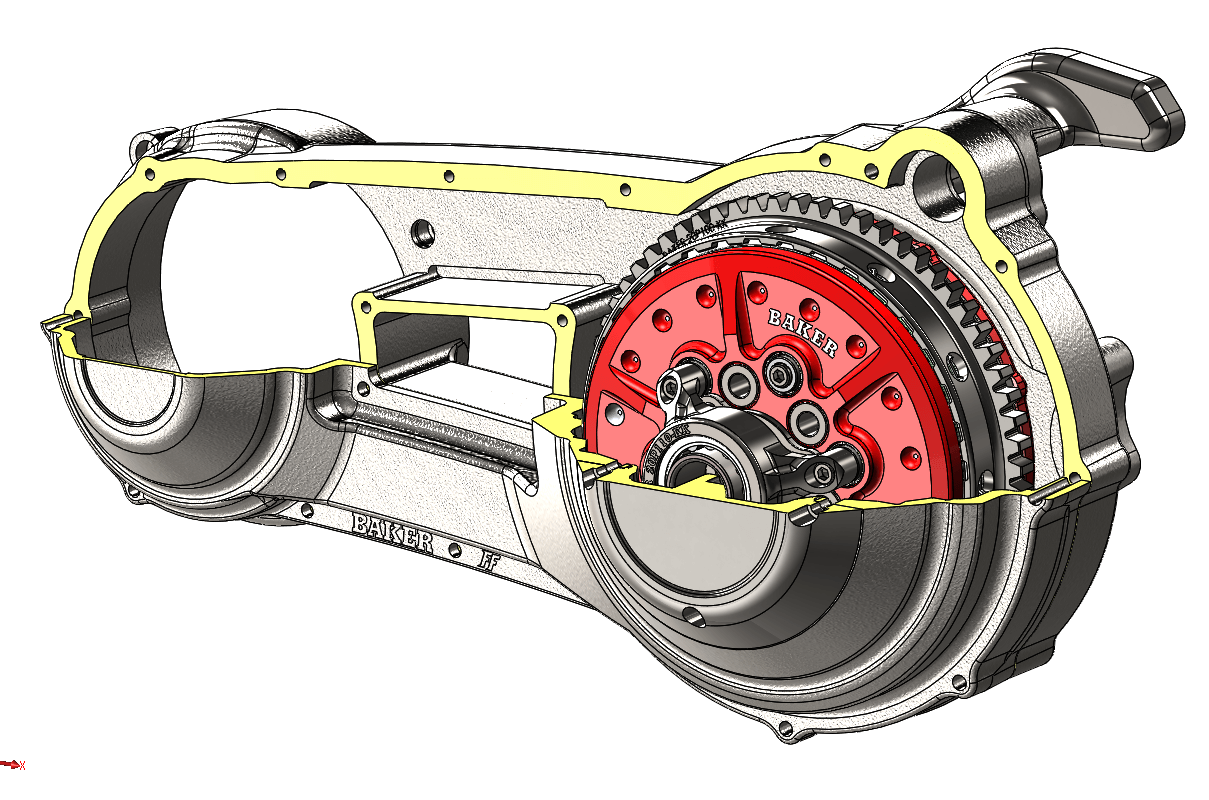
1. Turn on RealView
RealView gives a more realistic representation of your Model, allows the model to reflect its environment, gives visible bump & surface finishes and allows multi coloured effects (e.g. car paint).
With RealView off, your model displays with Basic open GL colours and textures.
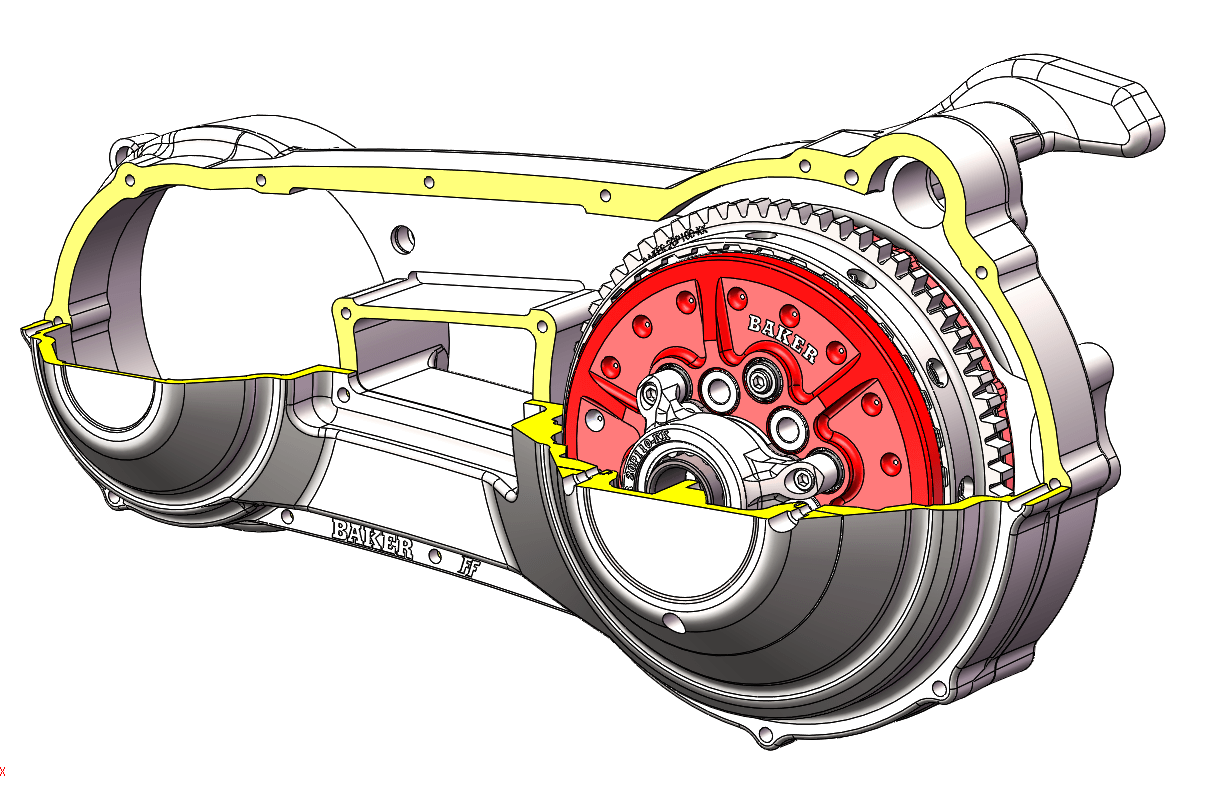
2. Use Ambient Occlusion
Ambient occlusion is a global lighting method that adds realism to models by controlling the attenuation of ambient light due to occluded areas. Objects appear as they would on an overcast day.
Below uses the model from before, but with ambient occlusion switched on (n.b. Ambient occlusion only available with RealView switched on).
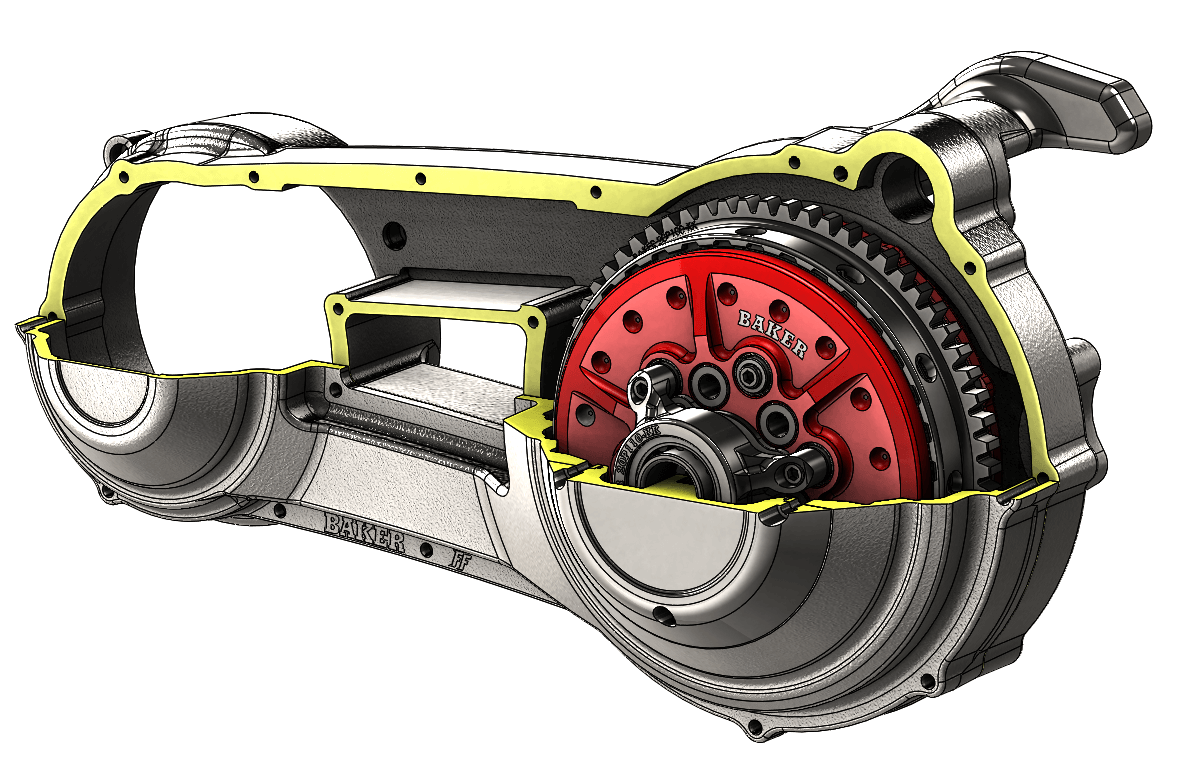
3. Turn on perspective
Perspective is key to adding realism to your image. It can be turned on and adjusted in the View menu, or alternatively you can use a camera which will add a perspective automatically.
4. Improve your image quality
In Options->Document Properties->Image quality there is a slider bar for “Shaded and draft quality HLR/HLV resolution” which controls the tessellation of curved surfaces for shaded rendering output. A higher resolution setting results in slower model rebuilding but more accurate curves.
Below are two images which show lowest quality vs highest quality:
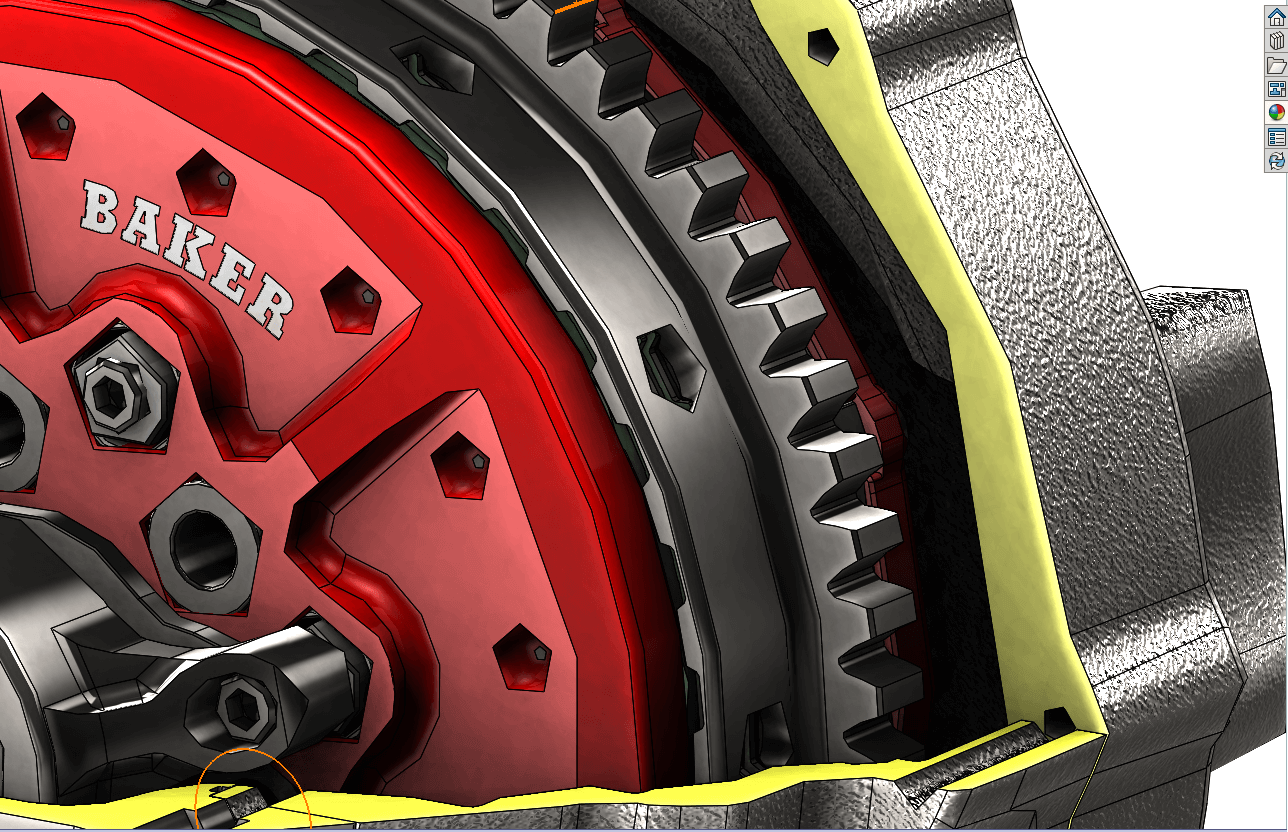

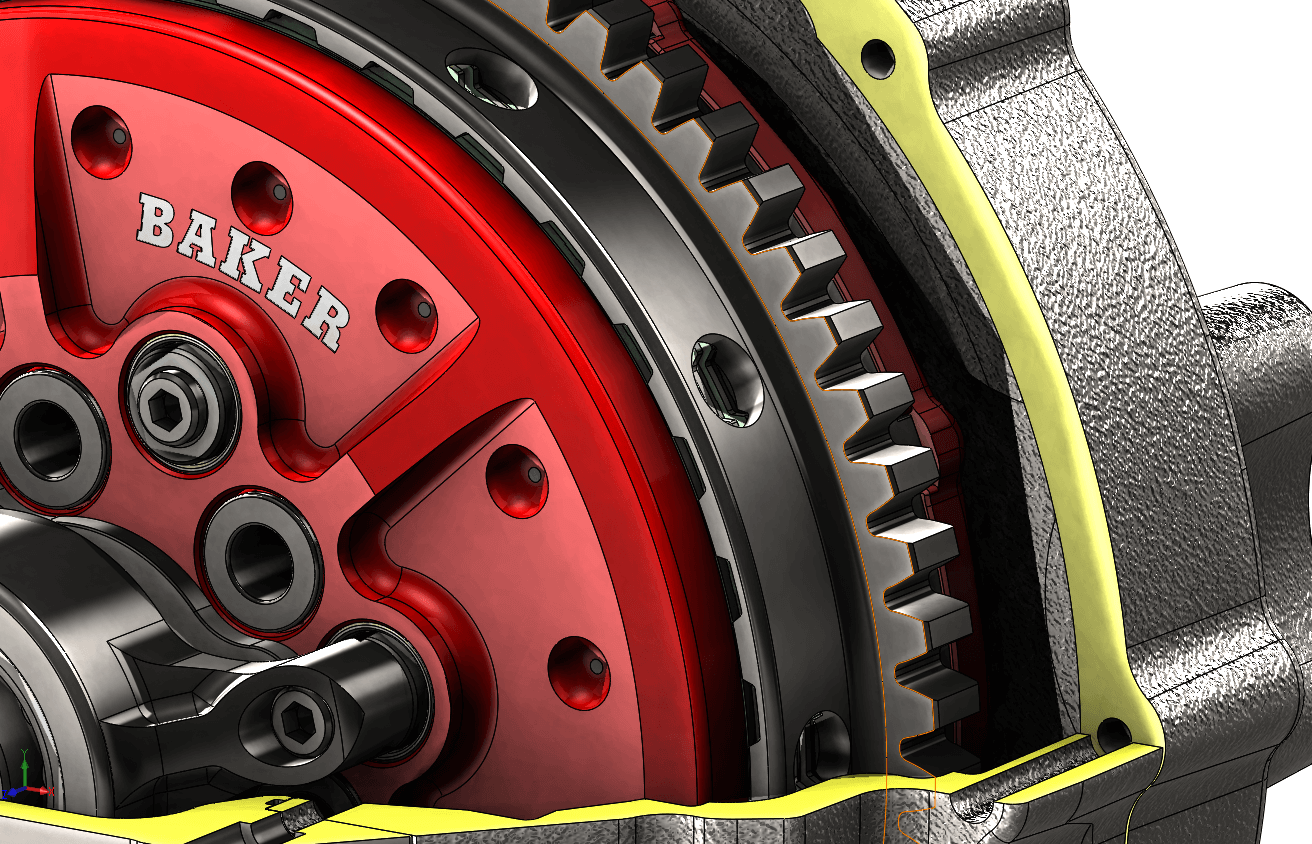

Notice in the lowest quality image, the circular holes in the circular plate are showing as pentagons due to the tessellation settings, whereas in the highest quality we see nice smooth circles.
5. Choose sensible output options
Once you are happy with how your image looks, it’s time to save it as an image. In SOLIDWORKS go to File->Save As and set the file type to either Jpeg, Tif or Png. Before you click save go in to the options. This will display the following dialogue:
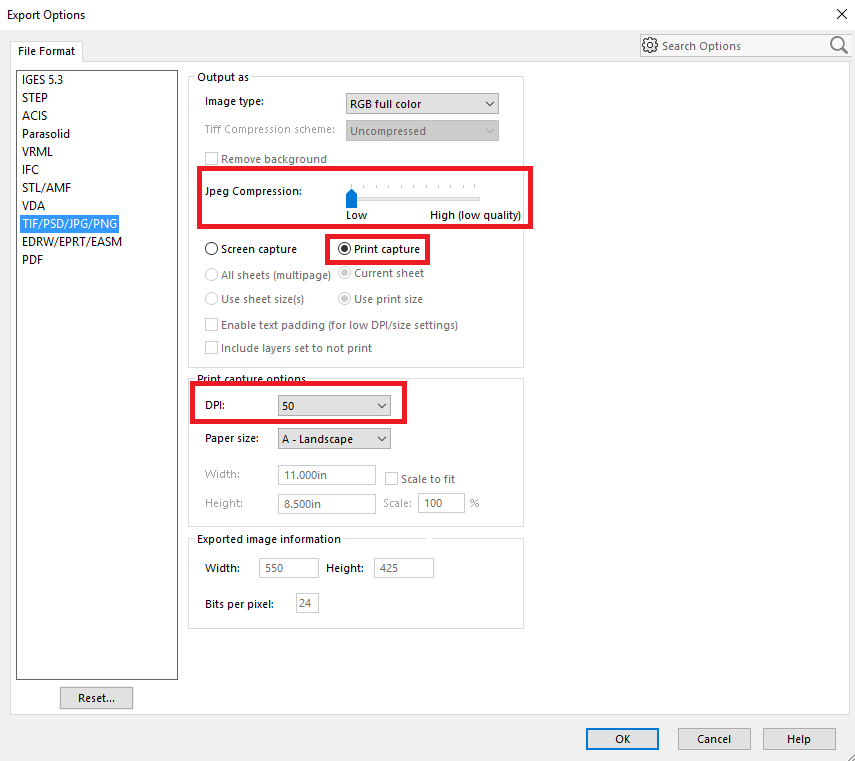
Within this dialogue, you can control the compression. It’s also possible to control the DPI, however this option will only be available when set to print capture. Obviously the higher the DPI, the better quality the image but the longer it will take to generate.
Hopefully, using the above tips you will be generate higher quality images from SOLIDWORKS Standard.
We hope you found that useful!
Have you seen our blog archive where we have posted plenty of helpful articles? We also have a fantastic video library filled with easy-to-follow videos on a number of topics inspired by other SOLIDWORKS users – take a look.
Also, don’t forget to follow us on twitter for daily bite size SOLIDWORKS tips, tricks and videos.


