
[Video Transcript]
When you’re looking at a Bill of Materials, being able to see quantities of the items that you’ve used is essential. The quantity is usually worked based on how many times you’ve used that component in your assembly. However, there are some occasions where that is not the value you’re after. In the case of the worktop and plinth within our kitchen assembly, for example, rather than seeing the quantity of how many times we’ve used that item, we’d prefer to see the total length required.
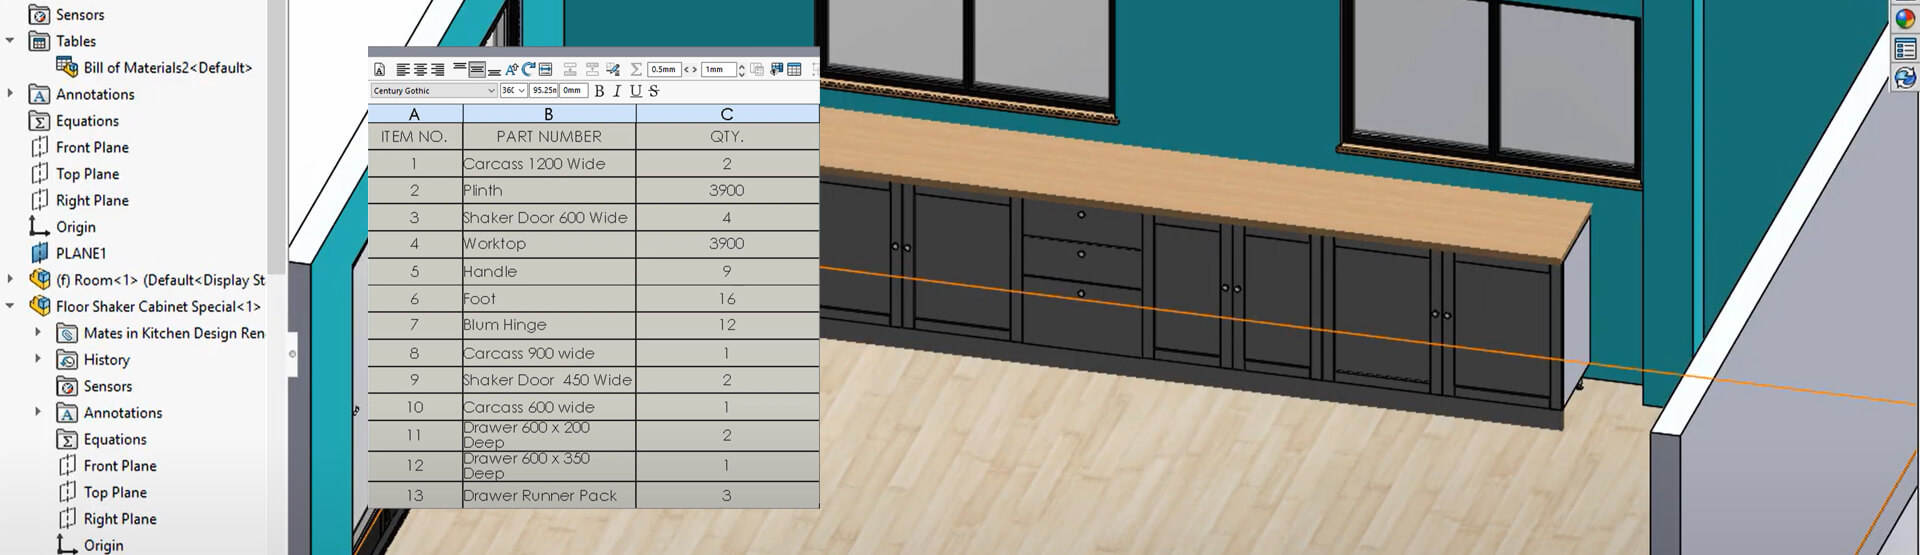
If I show my Bill of Materials you can see that I’ve achieved this. I need a total length of 3900mm for both the worktop and plinth, which is reflected in my quantity column. So, before we have a look at how this is achieved, let’s explore the structure of the assembly: We have 5 instances of the plinth component and each cabinet is referencing a different length configuration.
Let’s open up the plinth component…
In the configuration manager, we can see all the different configurations of the component. If we look at configuration-specific properties, each has a length property associated with it. We want to use that length property as the quantity in the Bill of Materials, but in order to do that we must set the dropdown menu for BOM Quantity as Length. Normally this is set to None. This needs to be done for every configuration.
We also need the BOM to group all the configurations of the plinth that we use in our assembly together as a single item (rather than having each configuration used shown as a separate item). To do this we must switch to our configuration manager and edit the configuration properties. For every configuration, we set part number to be used in the Bill of Materials as the same user-specified value of ‘plinth’.
We’ll now switch back to our main assembly. The chances are when you first bring in your Bill of Materials, each configuration of the plinth will still be shown as separate items. To group them together as a single item, we need to set the part configuration grouping options as ‘Display configurations of the same name as 1 item’. This collates all the plinths to a single entry in our BOM because we set the part number for all configurations as ‘plinth’.
That’s it! Our Bill of Materials is now looking exactly as we would like it to.
To find out more about SOLIDWORKS,
call us on 01223 200690 or send us a message below.
We hope you found that useful!
Have you seen our blog archive where we have posted plenty of helpful articles? We also have a fantastic video library filled with easy-to-follow videos on a number of topics inspired by other SOLIDWORKS users – take a look. Also, don’t forget to follow Innova Systems on Twitter for bite-size SOLIDWORKS tips, tricks, and videos.


