
Questions and answers
During the week a couple of the queries I answered included: mirroring a component in an assembly and stopping automatic sketch relations being added. If a wrong orientation is inserted when mirroring a component in an assembly it can be amended by editing the part and proceeding to the second step (which is missed if the green tick is pressed too early). Unlike in a part file the component can be mirrored in varying orientations clicking the blue arrow will take you to Step 2, here it is possible to select the correct view. Another question was stopping automatic sketch relations being added, this is solved by holding down the CRTL key.
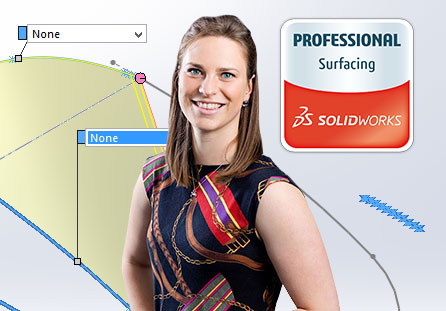
During my introduction into surfacing; I found it useful to create solid bodies using surfacing techniques to understand the automated processes that occur when creating a solid body. Then worked with solid bodies and surface bodies together to construct a part. SOLIDWORKS solid parts automate a lot of the surface modelling tasks. To create a solid from surfacing the volume must be completely enclosed. The reason surfacing is necessary is because some shapes cannot be created using a solid. It is also possible to work with high contrast photos to create a model using surfacing using the photo as a reference. The concept of continuity in surfacing is used frequently and is applied to curves and edges of surfaces in a CAD system. There are three different types of continuity: contact (C0) – the surfaces share a common edge; tangent (C1) – provides a smooth transition between two surfaces; and continuity (C2) – touching, tangent and provides a smooth transition related to the two joining surfaces.
Exam time!
I took the Surfacing exam at the end of the week, consisting of nineteen questions with 90 minutes allowed. The Surfacing certification covers tools including: Spline Creation; 3D Curve Creation; Boundary Surface; Filled Surface; Swept Surface; Knit Surface; Trim and Un-trim Surface; Move Face; Extend Surface; Fillet and Thicken. Each area has a chapter within the Surfacing manual with worked examples. I needed lots of practice of 3D modelling, ensuring that all 2D reference sketches are on the correct plane. I the thought process is fairly different compared to using solid bodie. I felt short for time through this exam, as there was a lot of 3D sketching required but managed to pass the last advanced topic with 100 percent!
I will spend the rest of my internship gaining experience with the software to increase my efficiency; answering more client queries; reviewing the various certification areas I have already taken and prepare for the SOLIDWORKS Expert certification.
Make sure to check back for Chloe’s final blog post here
Chloe’s SOLIDWORKS Tip of the week:
To copy a surface in SOLIDWORKS, using the Offset Surface command and changing the offset distance to 0 mm. This will change the name of the feature to Copy Surface and the surface will be successfully copied.


