
If you’re a SOLIDWORKS Subscription customer, 3D printing your models from SOLIDWORKS has just got a little bit easier! SOLIDWORKS have partnered with 3D Systems on a new 3D Printing add-in called 3DXpert.
What does 3DXpert do?
Firstly, you can bring native SOLIDWORKS files straight into the program that will be doing the print preparation directly from a button inside SOLIDWORKS…
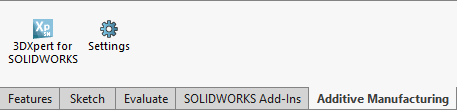
…reducing the possibility of translation errors.
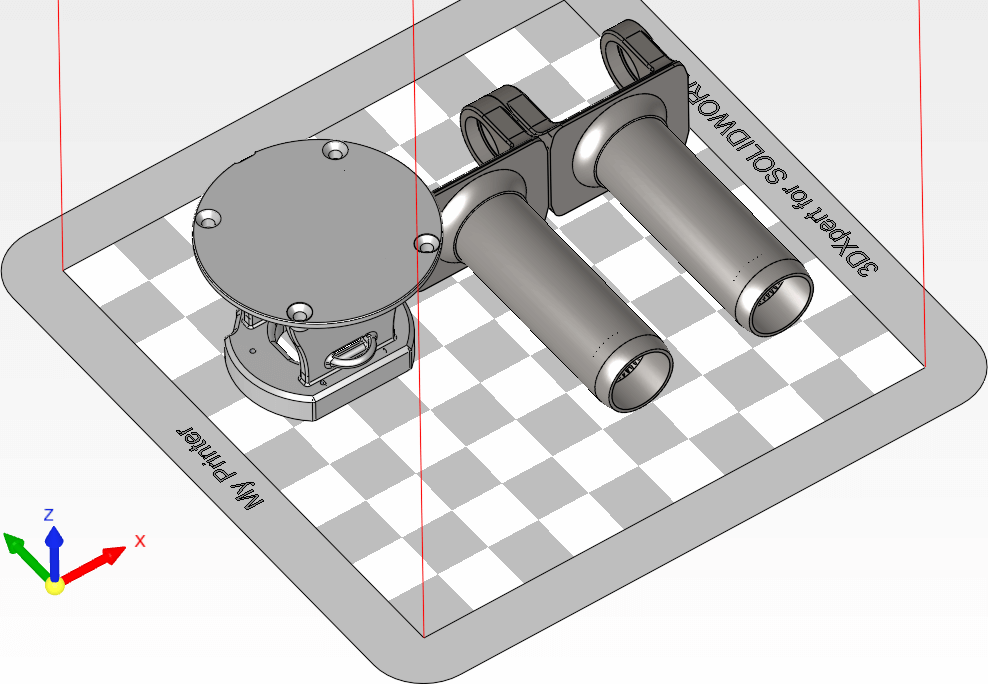
Once the file is inside 3DXpert you can position it within a fully customisable print bed (set up your machine(s) as a reusable template). You can also easily bring in multiple files (or pattern the first file) to fill your print bed as you can see below:
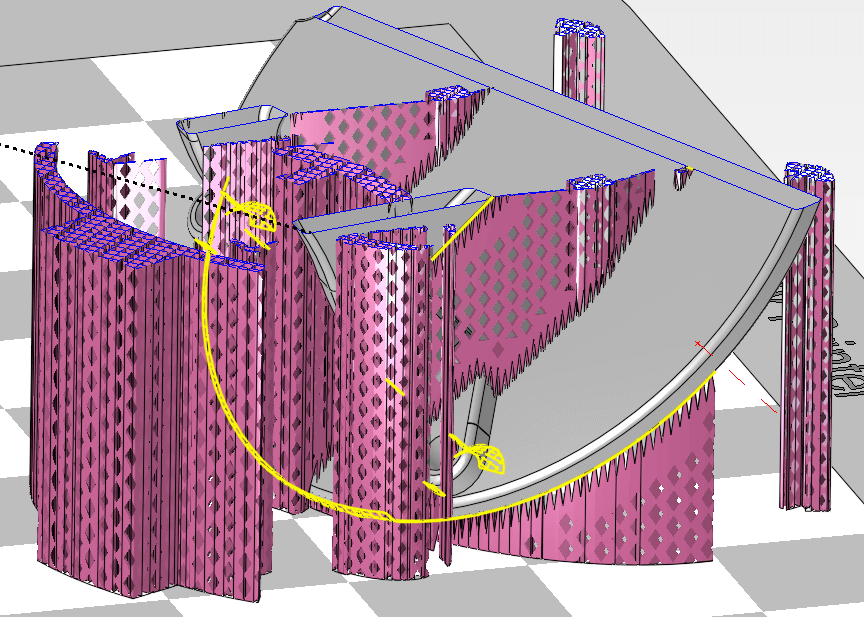
If you allow the program to auto-arrange your parts you can allow it to pick for different build requirements; such as minimum “Time (Height)” or minimum “Internal support”. In displaying these options to you the system also displays graphically where the part will require support materials, based on the angle configured in the printer.
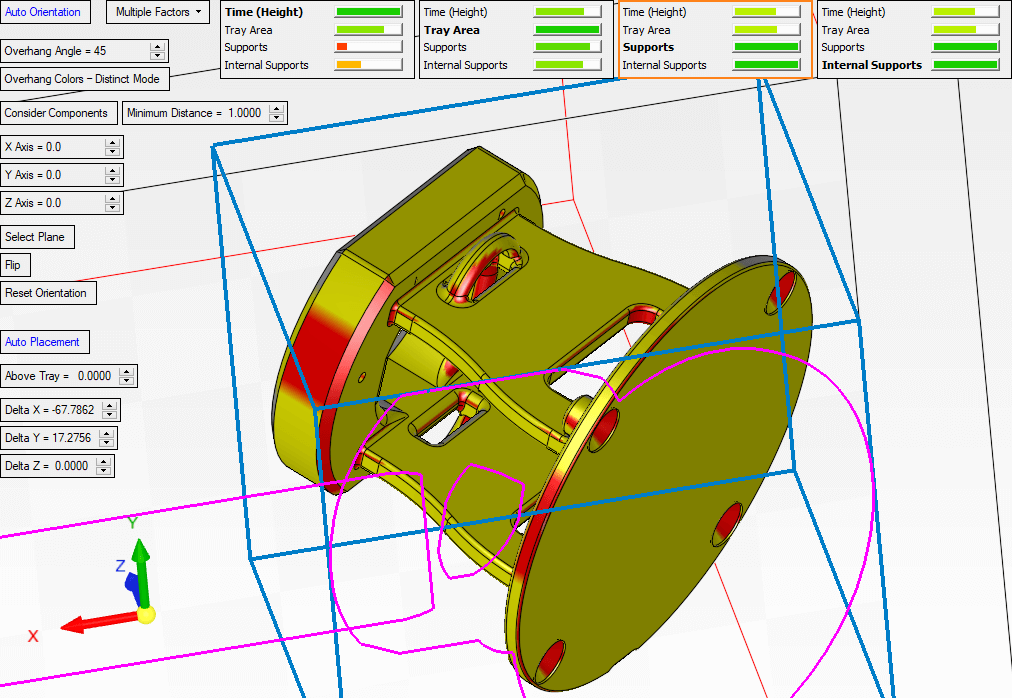
In the above image the red faces are at an angle of greater than 45° which is where we defined support was required. You can click on the different orientation types to see what has been recommended.
Once the part is in the correct orientation it’s a matter of only a few clicks to accept the recommended support layout. You can of course configure this yourself if you think there are issues.
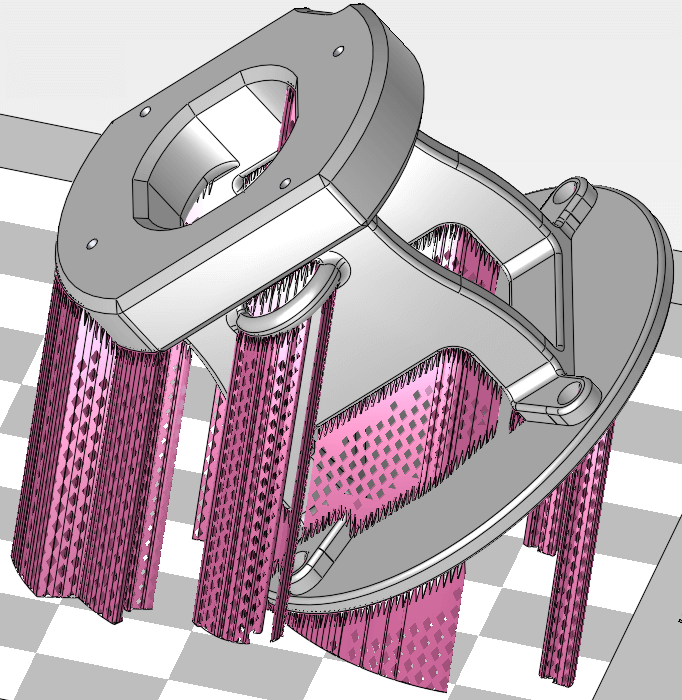
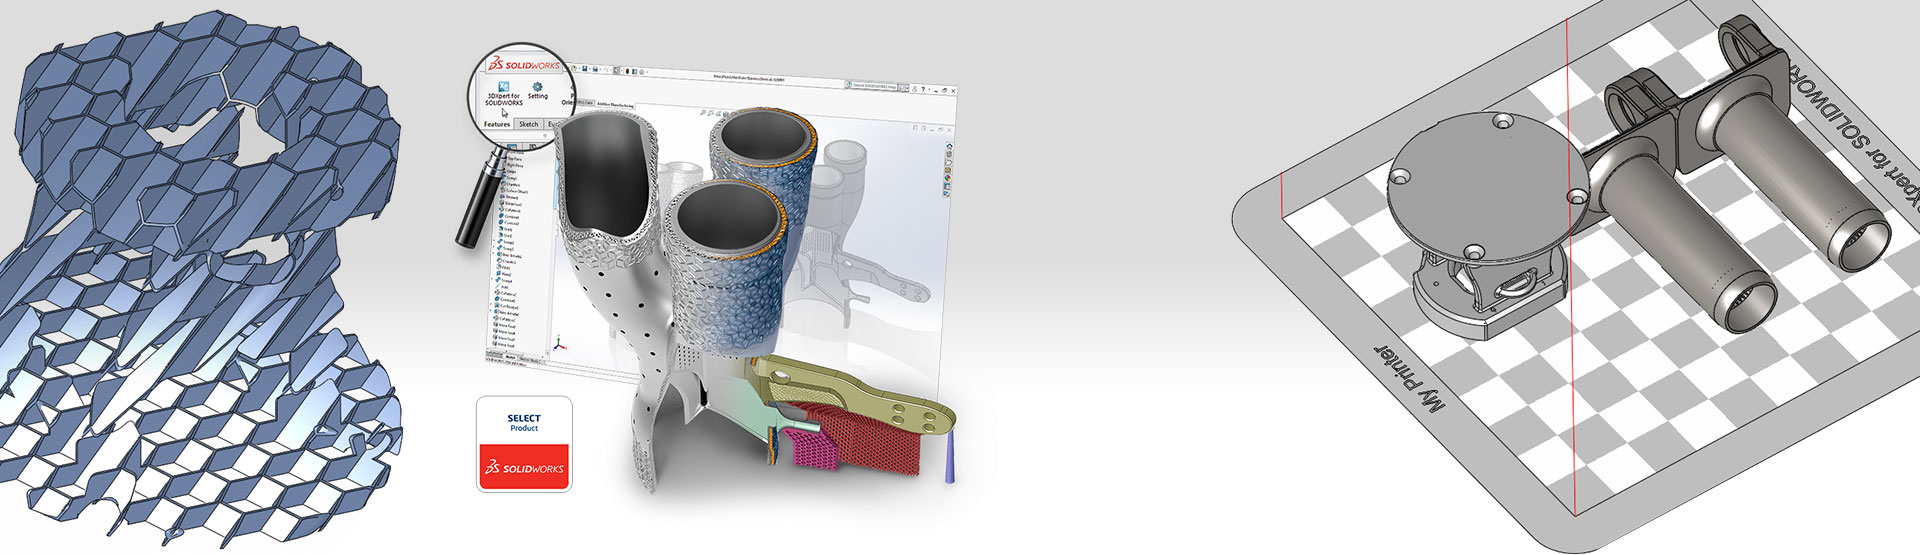
At this point you can experiment with internal or surface lattices and while you can print some of the simpler ones, the real power is limited to viewing only in Standard tool.
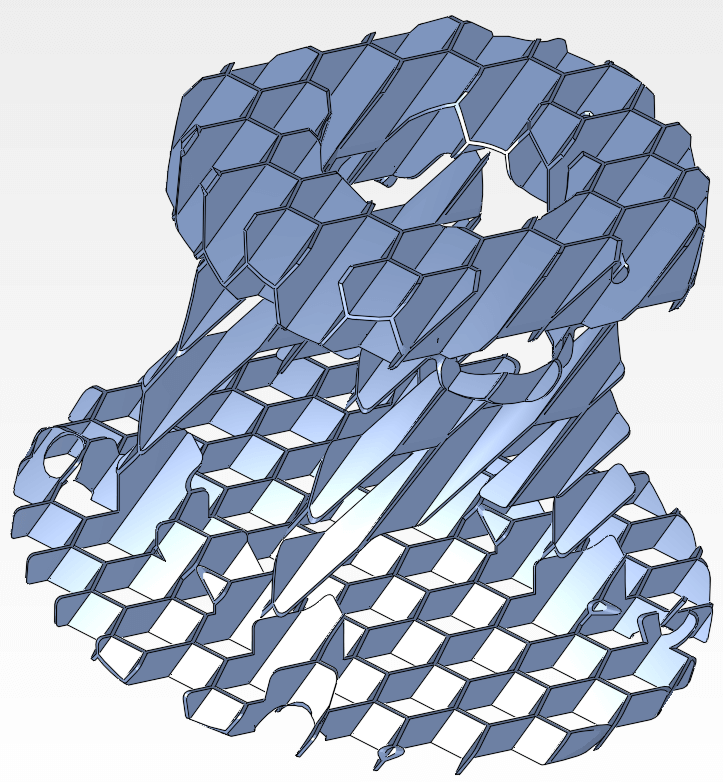
While this honeycomb lattice above is printable from the tool we’re not sure it’d stand up afterwards!
Once the model is set up you can slice it and inspect the slices created. You can even watch the printer head movement if required.
Now we know our print is going to work, there is one last screen we want to show you and that is the Print Estimation screen.
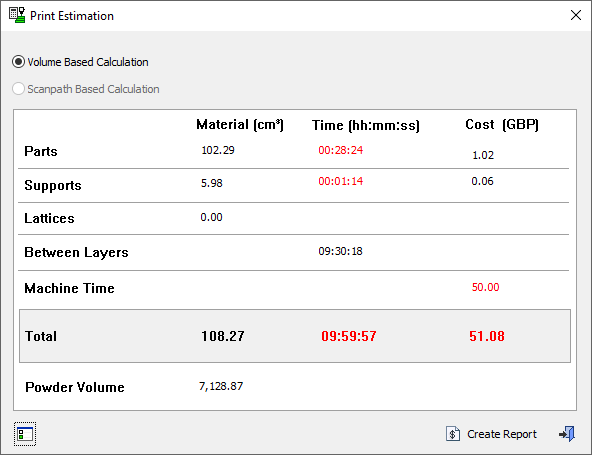
The Print Estimation screen gives you and estimate of both time and cost for the print. It’s based upon material and time costs that have been configured by you, and by volumes from the CAD file.
If you’re happy with the estimate it’s time to click the “Send to Printer” button and print your part!
This is obviously a very quick first look and doesn’t cover further tools such as Shrinkage Compensation or Thin Wall Analysis, or the fact that you can do direct modelling within the 3DXpert interface (for print files received from other sources), but hopefully it shows the power of 3DXpert for SOLIDWORKS and the value that your Annual Subscription brings you.


