

Area Lighting is one of our favourite updates to SOLIDWORKS Visualize Professional 2018. As the name suggests, Area Lighting allows you to pinpoint exactly what you want to see highlights on your model. This is done by matching the light direction to the camera position. This new functionality revolutionises the way lights are created in the SOLIDWORKS Visualize, allowing you to produce higher quality renders that can be put together much faster than the previous version.
Several shapes are possible when using Area Lighting; rectangles, spheres, and cylinders. These are known as Primitive Shapes in Visualize, and they allow you to match your idea to what you can create onscreen.
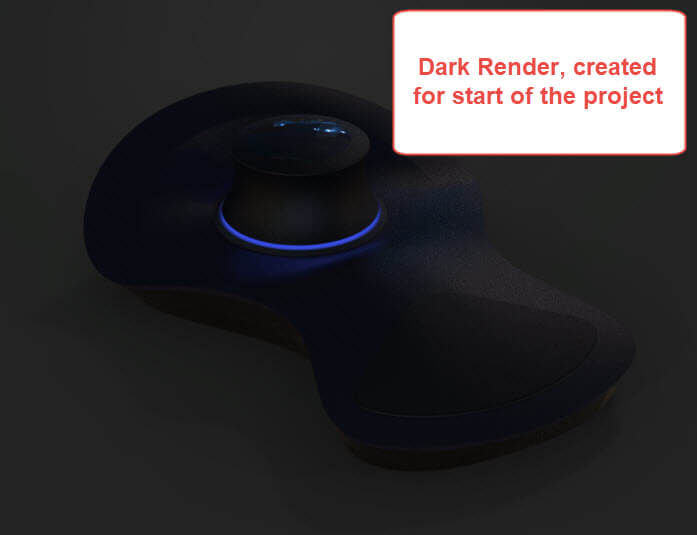
To demonstrate Area Lighting, we’ve created a model that you may recognise – a 3Dconnexion SpaceExplorer Mouse. The environment has been set to the dark scene Industrial Lot, to make the lights we create clearer and their impact more visible.
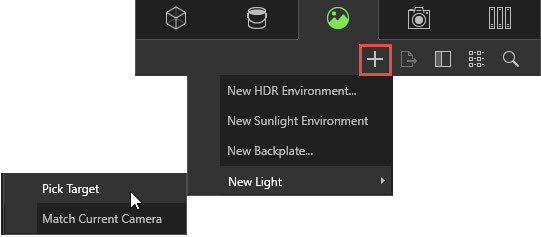
If you aren’t familiar with the process of creating lights inside the software, you will need to navigate to the Scenes panel, from here you can select the plus button (+) > New Light > Pick Target.
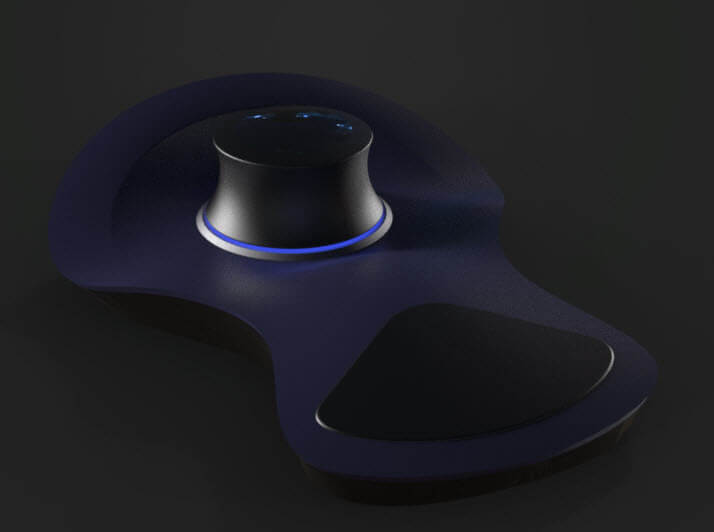
You can then select an area of the model to create lights, these will illuminate where you click. We’ve added two lights to highlight either side of the control knob in the example shown below.
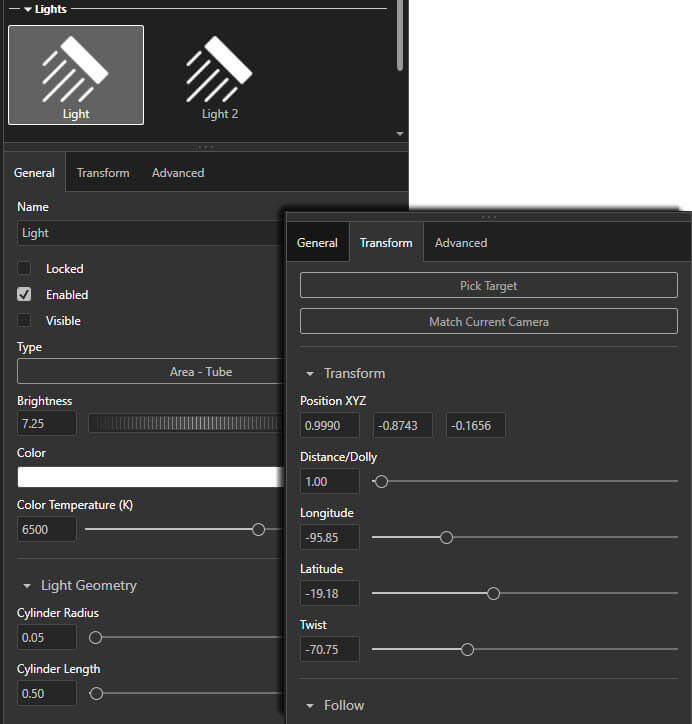
The settings can be changed by selecting these lights in the Environments panel. In our example the type has been changed to an Area Tube light. These can be orientated using options on the transform page, Twist will allow you to spin the component around a central axis (see the video below for an example).
The brightness and size of the light can be adjusted on the general tab. Please note that the brightness setting is spread over the area of the light, so when the size is reduced, the intensity of the light will increase.

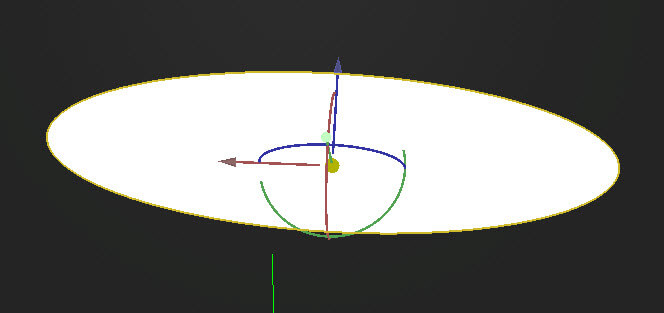
When adding lights into Visualize in this way you may find that the easiest way to move and translate the lights is to do it with the move or pivot tool on the top toolbar. Set the render mode to Preview, which accelerates the process. If you set the lights to Visible (on the general tab), you can then move them about the scene.
Here’s a short video demonstrating everything we’ve shown you in this tutorial:
You can create some great looking renders with the new Area Lighting tool. Give it a try!
We hope you found that useful!
Have you seen our blog archive where we have posted plenty of helpful articles? We also have a fantastic video library filled with easy-to-follow videos on a number of topics inspired by other SOLIDWORKS users – take a look. Also, don’t forget to follow Innova Systems on twitter for daily bite size SOLIDWORKS tips, tricks and videos.


