
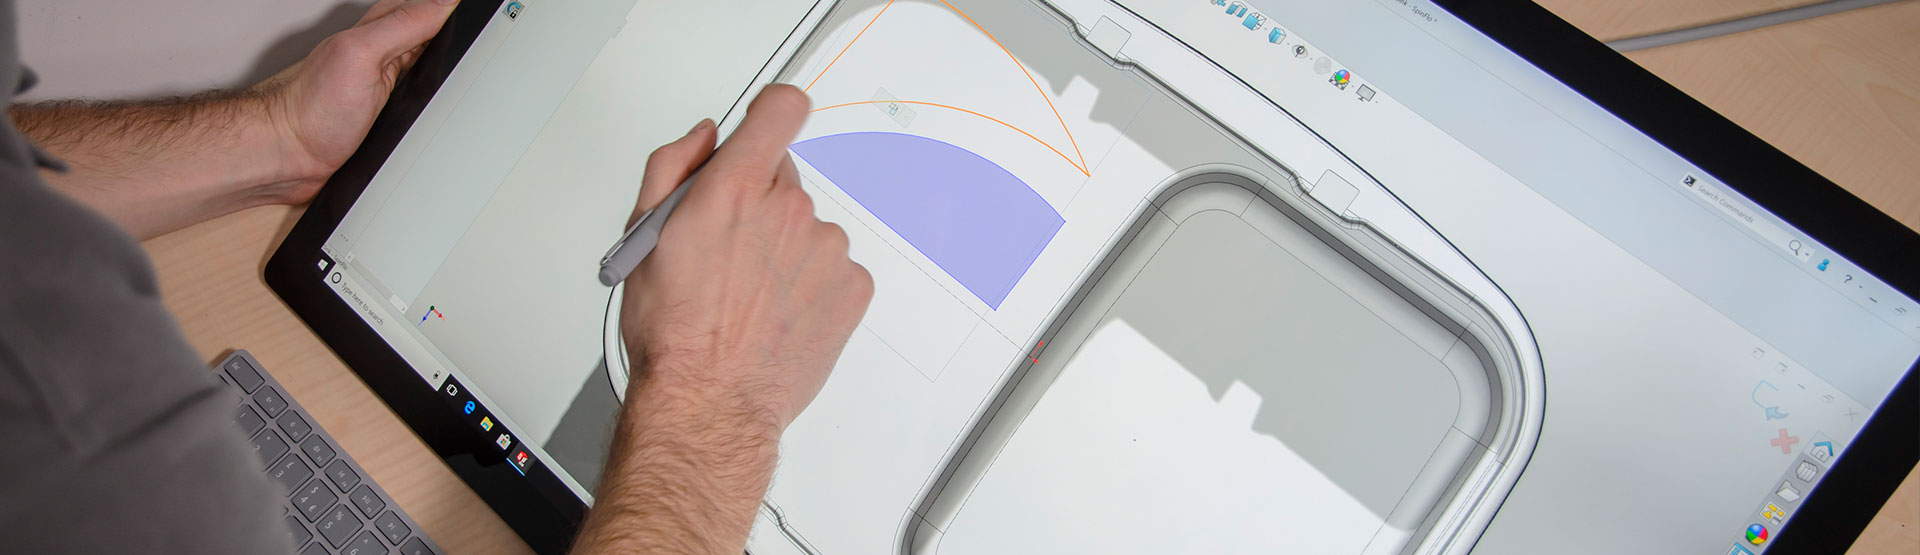
Introduced in SOLIDWORKS 2018, Touch Mode is available to everyone with Windows 10, a touch enabled device and any version of SOLIDWORKS 3D CAD, but how does it work?
How to activate Touch Mode in SOLIDWORKS
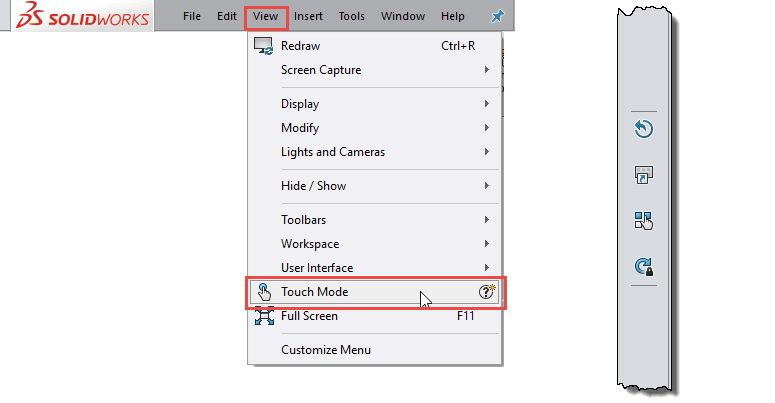
The first thing you’ll need to do is activate the Touch Mode, which can be found on the View Menu. Once activated it will display your touch controls on the left side of the screen. If you would prefer them on the right side of the screen, you can change this in the Options. Search for Touch In your Options menu to find this.
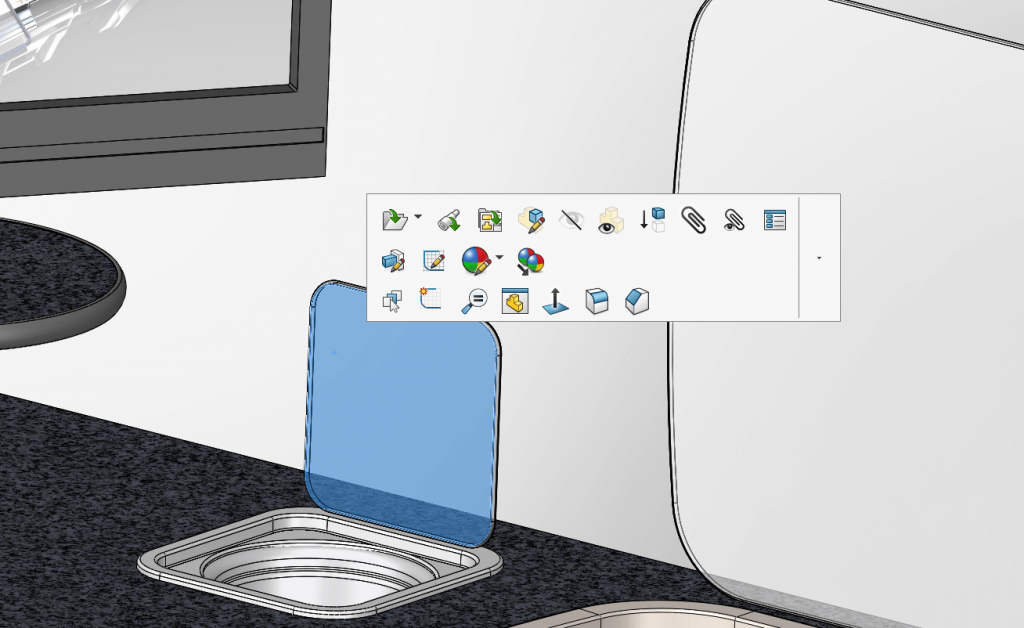
You will also need to activate the Sketch Ink Toolbar. You can do this by Right Clicking on your CommandManager, on any of the tab names, a list of available tabs will appear. You can activate the touch toolbar by clicking Sketch Ink.
Touch mode model control
Once Touch Mode is activated you will be able to control models onscreen, using the following gesture controls:
 Zoom out Zoom out |
With two fingers on the screen spaced a distance apart, pinch them towards one another. |
 Zoom in Zoom in |
With two fingers on the screen close to one another, spread them apart. |
 Rotate Rotate |
Fix two fingers close together and drag both together across the screen. |
 Pan Pan |
Fix two fingers a distance apart and drag both together across the screen. |
 Roll Roll |
Fix one finger on the screen and rotate the other around it. |
 Zoom-to-fit Zoom-to-fit |
Double-tap two fingers on the screen at the same time. |
 Right click Right click |
Hold one finger on the screen and tap with another. |
Modelling
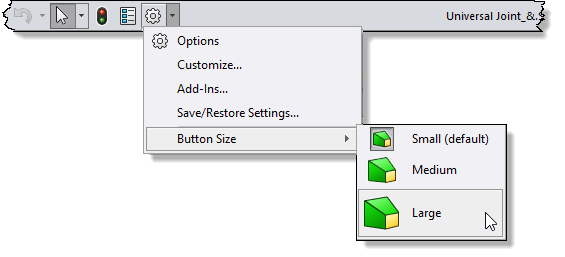
When these commands become familiar, you can try modelling within the touch environment. You will find that enlarging the buttons within SOLIDWORKS will make this process simpler.
The Commands on the touch toolbar will allow you to make the process of modelling within SOLIDWORKS easier. It contains the following commands:
|
Exit command |
Like pressing the Esc key on the keyboard. It will escape the current tool. |
|
‘S’ key |
Opens the shortcut toolbar. Also lets you type in the command search in the corner. |
|
Multi-select |
Activating this command is similar to holding Ctrl. It will allow you to select multiple entities.
It will also allow you to window select more easily. |
|
Delete |
Deletes the selected item. |
|
Zoom up/down |
Changes the zoom level when using the magnifying glass. |
|
Lock 3D rotation |
Make sure you turn this on when sketching, it locks the model orientation – no accidental rotation!
Can also do this when activating commands (i.e. moving components in an assembly). |
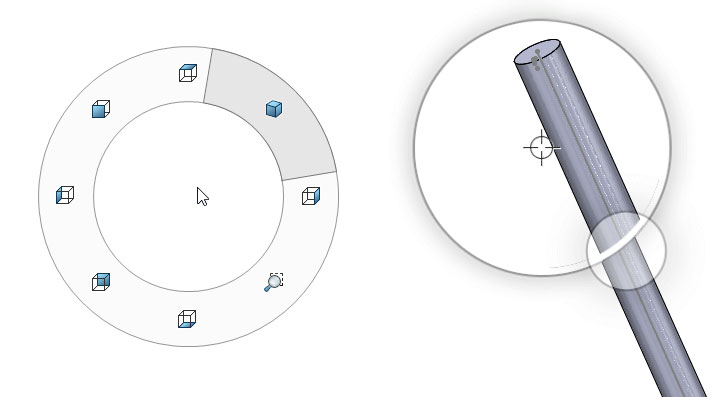
You can also activate the magnifying glass or mouse gestures while sketching. If you hold your finger onscreen, you will see a wheel start to form. Let this wheel complete to access the magnifying glass.

If you drag as the wheel is being formed, you will bring up the mouse gestures wheel.
Sketching
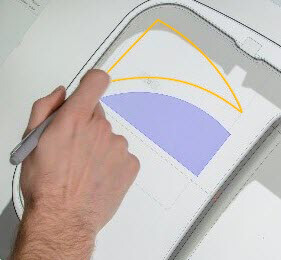
When it comes to sketching in the Touch environment, you can use either a touch enabled stylus or just your finger. There are two modes which can be activated, these are seen on the Sketch Ink toolbar.
| When activated, SOLIDWORKS automatically recognises your pen/finger strokes as the following recognisable shapes: Line, Point, 3 Point Arc, Circle, Corner, Corner Rectangle, Ellipse & Polygon.
This mode allows you to easily sketch out concept designs without having to turn them all to sketches. The colours available on the pen drop down will give you the ability to easily differentiate the shapes you produce. When desired items can be converted into sketches when selected. |
|
| Uses the above listed shapes. The difference is that the shapes will be auto converted to sketch items. |
As you start to use the touch mode more, you will notice that some of the tool bars are enlarged to make them easier to use. The shortcut menu shown as items are selected is a good example. You will also notice a down arrow shown next to the menu which will expand to show the right click menu.
Now see it in action!
Here’s a video of Touch Mode from our What’s New in SOLIDWORKS 2018 video playlist.
We hope you found that useful!
Have you seen our blog archive where we have posted plenty of helpful articles? We also have a fantastic video library filled with easy-to-follow videos on a number of topics inspired by other SOLIDWORKS users – take a look. Also, don’t forget to follow Innova Systems on Twitter for daily bite size SOLIDWORKS tips, tricks and videos.


