
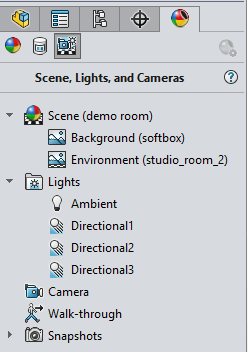
Setting the scene
Scenes can be applied to your model from the task pane – it’s a simple case of dragging and dropping them in the graphics area. The Scene consists of a background and an environment. These can be seen and edited from the display manager.
It’s the environment that is key here. The environment is generally an HDR image which maps itself around your model – you can’t necessarily see it, but it is what your model is reflecting. Also, the lighter areas in the HDR image actually emit light on to your model. This is the reason that rotating your environment can have an effect on how your model looks.
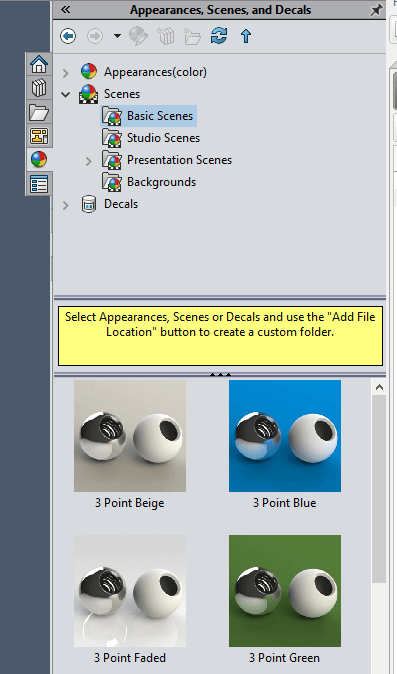
In the below example we have applied a highly reflective chrome appearance to our model. Here is how it looks using 3 different scenes. Alongside those are the environment images.
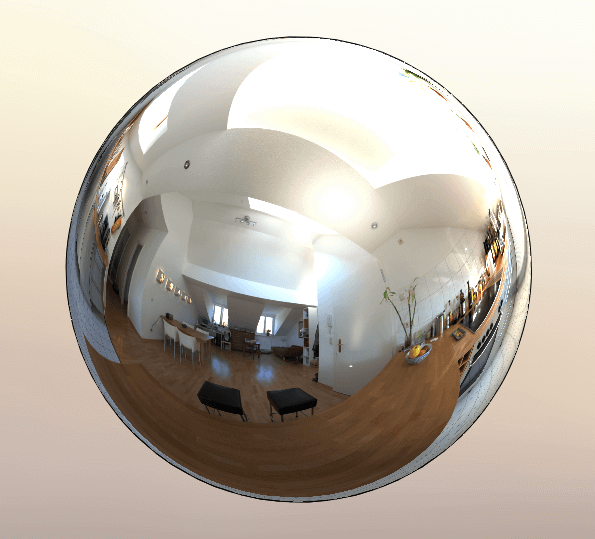
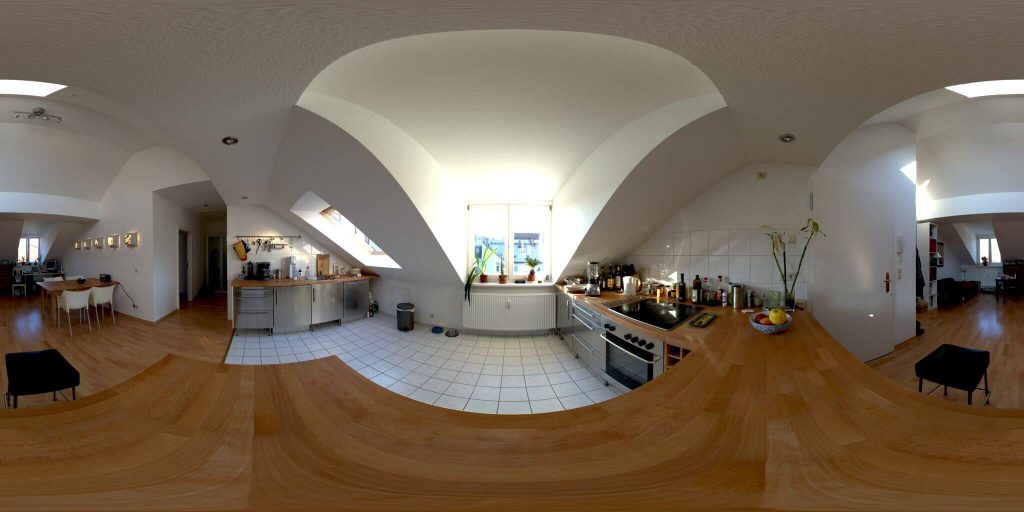
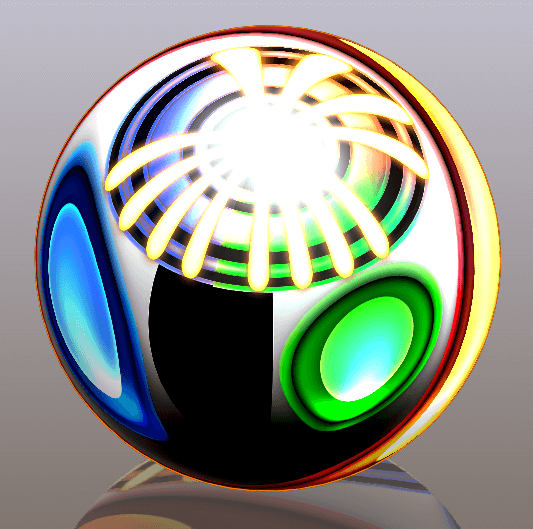
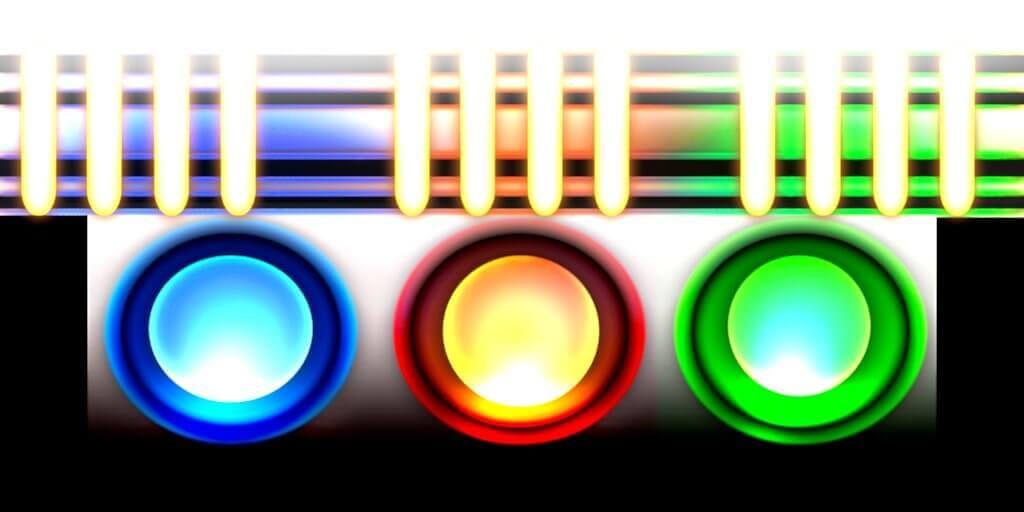
As you can see the model looks very different, depending on the environment used.
The lighting setup
Lighting set ups generally consist of an ambient light, and multiple directional lights. The Ambient light illuminates the model evenly from all directions in SOLIDWORKS and is generally set quite low.
The Directional lights come from a source that is infinitely far away from the model. It is a columned light source consisting of parallel rays from a single direction.
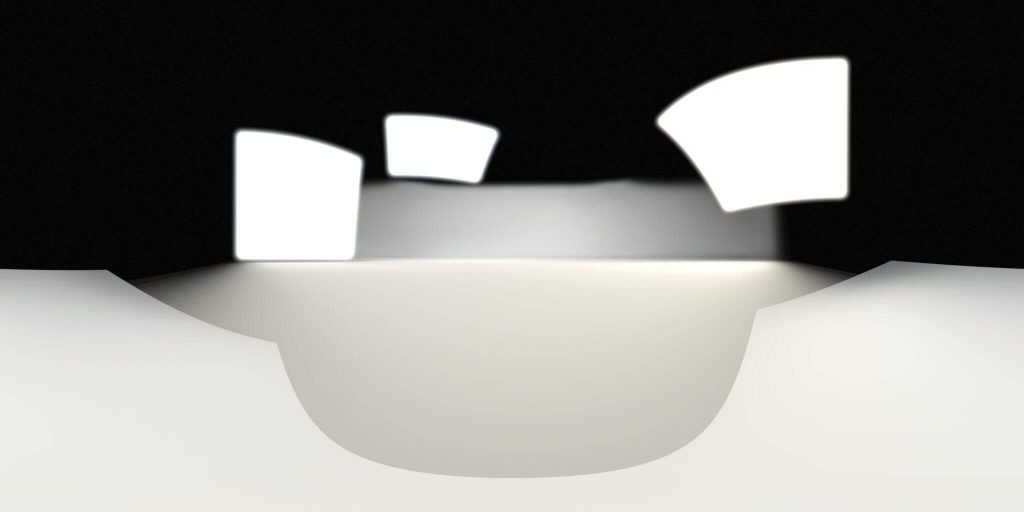
In the below image, I have set the scene to 3 point faded, where the lighting set up consists of an ambient light and 2 directional lights (shown in the graphics area).
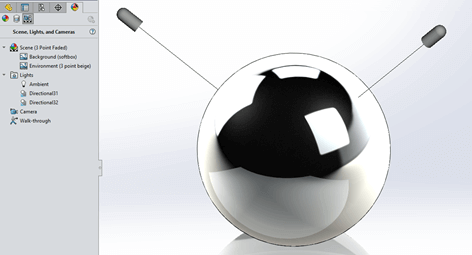
The ambient light can be set between 0 and 1. In this example it is to 0.3. This gives you the effect that you are viewing your model in relatively dark room, with the directional lights illuminating the model.

The material
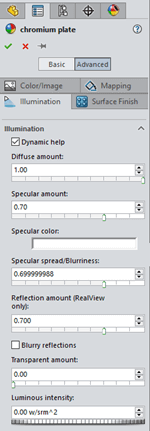
One of the key areas here is the reflection amount. This controls the reflectivity of a surface, on a scale of 0 to 1. If set to 0, no reflections are visible. If set to 1, the surface simulates a perfect mirror. So in the scenario where you have a colourful scene and a very reflective material this will have a large effect on how the model looks.
There are also controls for how the light behaves when it comes into contact with the surface.
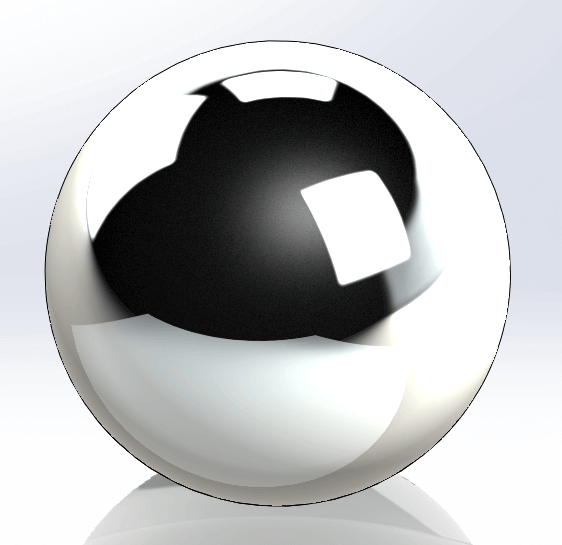
If we take a look at the chromium plate appearance, you can see its reflection amount is set at 0.7, giving a very reflective surface.
How to produce ‘true’ colours
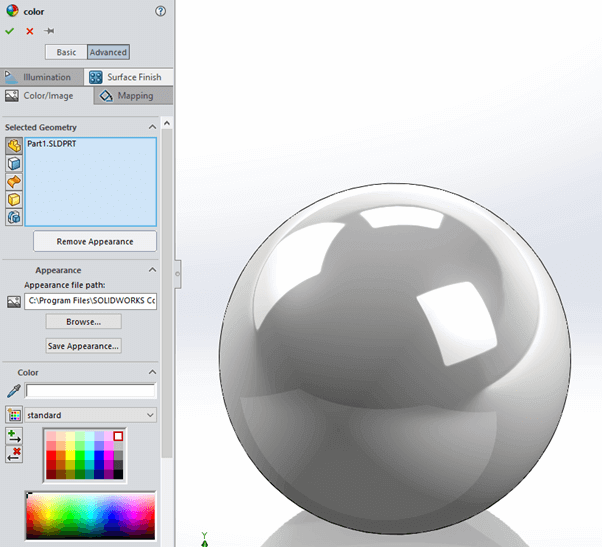
If we look at the following example, we have applied a colour appearance to the model and set the colour to white, which makes it look grey. This will be due to a combination of the above factors (the environment image, the lighting & the reflectivity of the appearance).
To get the colour of the model to be exactly the same as the colour you have applied, change your environment to a plain white image, be sure not to use an HDR image as you do not want to be adding light to the scene.
- Turn of all directional lights and increase the ambient lighting to 1
- Turn off reflectivity of the material used
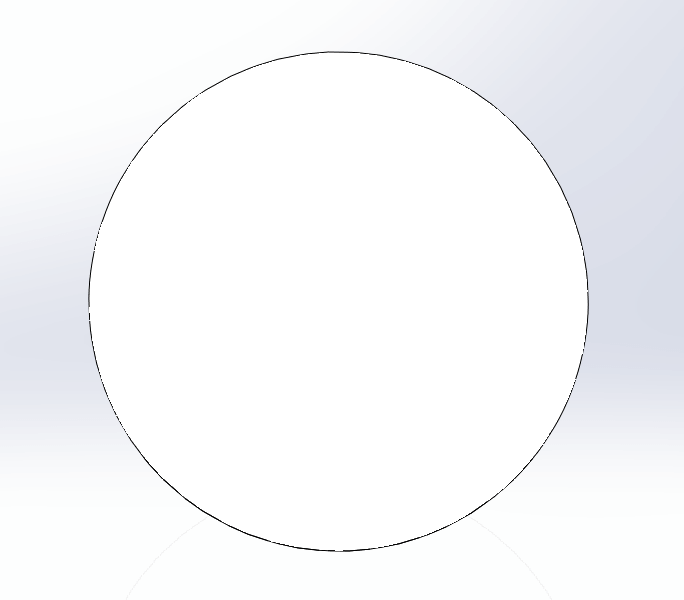
We can see from the result below, the sphere is white.
A viable workaround?
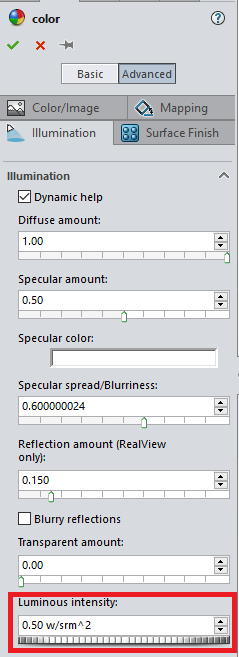
Rather than changing the lighting setup as mentioned above, it is possible to edit the appearance and increase the luminous intensity. This changes the appearance on the model to a bright white colour easily. However, if you use Photoview 360 or SOLIDWORKS Visualize to render the model, please be aware that the appearance will emit light.
We hope you found that useful!
Have you seen our blog archive where we have posted plenty of helpful articles? We also have a fantastic video library filled with easy-to-follow videos on a number of topics inspired by other SOLIDWORKS users – take a look. Also, don’t forget to follow Innova Systems on twitter for daily bite size SOLIDWORKS tips, tricks and videos.


