
Last year my children got loads of new toys at Christmas and the first thing they wanted was something to play with them on. Well, this year I’m going to make a model playset for them! I’m going to use the new Tab and Slot tool in SOLIDWORKS 2018 to make my design both quick and simple, and make it possible to take it apart and put it away flat when the kids are finished with it.
During the design process I had to decide what playscape to make. In the end it came down to the fact that I like castles, and they like princesses. I then had to sketch some ideas out and, having looked at them, I really wanted to build the elaborate castle, but think my crafting skills may be better aimed at one of the more simple designs if the children are going to get to play with it before the new year!
As I will be making this on Christmas day, and I want it to be able to store it flat afterwards, my material of choice will be cardboard – After all, there’s always loads hanging around after present opening. When making things out of cardboard the SOLIDWORKS sheet metal tools are ideal and the new Tab and Slot tool is part of the sheet metal functionality.
So, let’s get into SOLIDWORKS.
Once the basic tower shape is modelled, it’s time to use the Tab and Slot functionality:
- First we click the edge of the part that will have tabs added to it
- Then we select the outer face for end of the slot cuts
- We can now specify whether the tabs start at the outside edges of tab face or not, how many tabs we will use and their length as well as the tab height. In my model I’m going to use three tabs and I want them offset from the edges
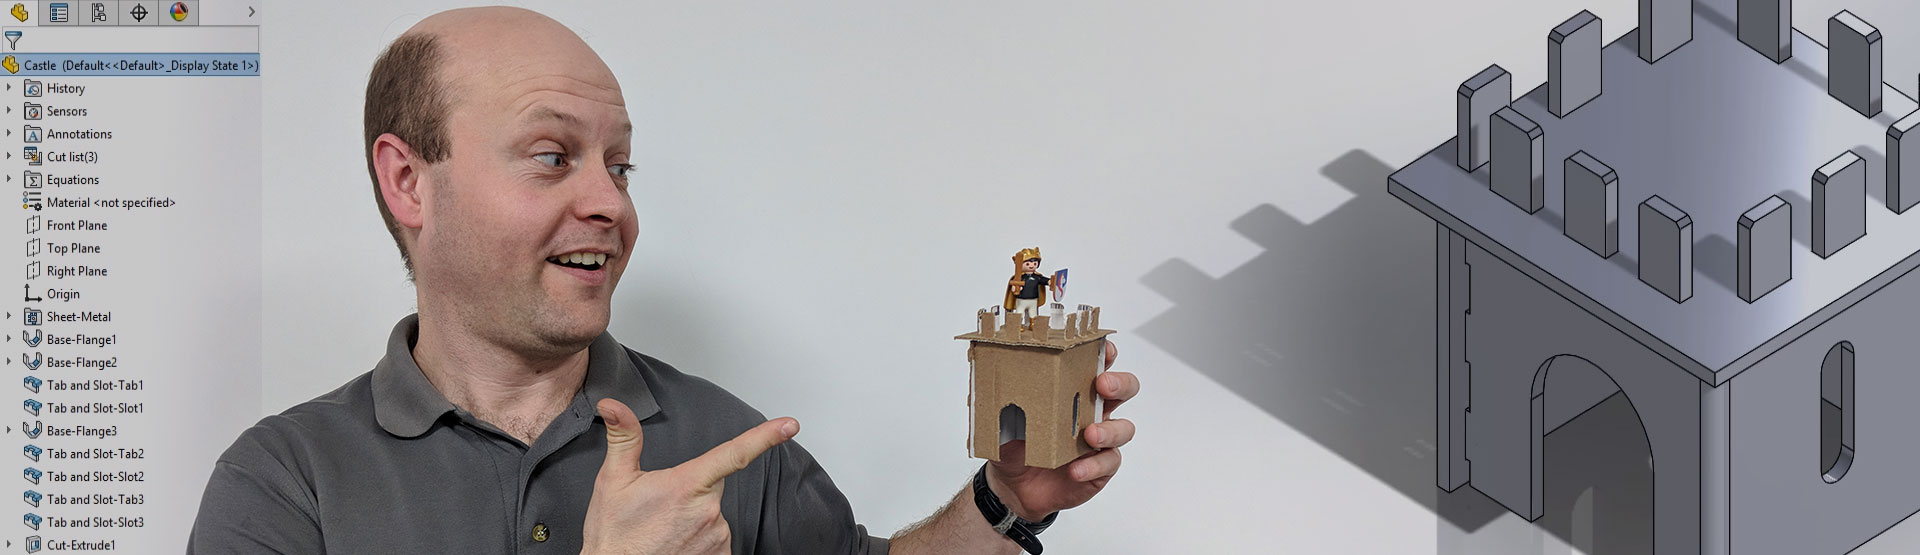
Having made our tower hold its shape we need to add the top and fix it on:
- Using Tab and Slot again I can do all edges for each tab body in one command by using the ‘New Group’ button and if I make my tabs stick a long way through I get my castellation automatically!
- I can also automatically radius or chamfer my tabs for a better aesthetic and simpler construction – nice!
See Tab and Slot in action in this video
When I print out my templates I want them to fit on a single sheet of A4, so I’ll need to check the sizes of the flat patterns. I could do this with ‘Evaluate’ but by using a sensor, if, or rather when I need to make changes, SOLIDWORKS will pop up a warning if I exceed my required sizes.
My first attempt fitted onto a page, so I made my first prototype, which looked amazing, if I do say so myself, but there may be a small problem – it’s a little small! So back to SOLIDWORKS!
A quick resize is possible as the model was set up using a global ‘Toy Size’ variable which all the major dimensions were linked to, but now my sensor is telling me I no longer fit on a sheet of A4. No problem – a bit of redesign is needed and then we are good to go again, I’m going to take this opportunity to remove the curves as well (I am rubbish at cutting them!).
Now to export the file to DXF and then create PDFs for me to print and for you lot to download here.
Have fun being Christmas heroes and feel free to send us your creations!
Have you seen our blog archive where we have posted plenty of helpful articles? We also have a fantastic video library filled with easy-to-follow videos on a number of topics inspired by other SOLIDWORKS users – take a look. Also, don’t forget to follow Innova Systems on Twitter for daily bite size SOLIDWORKS tips, tricks and videos.


