
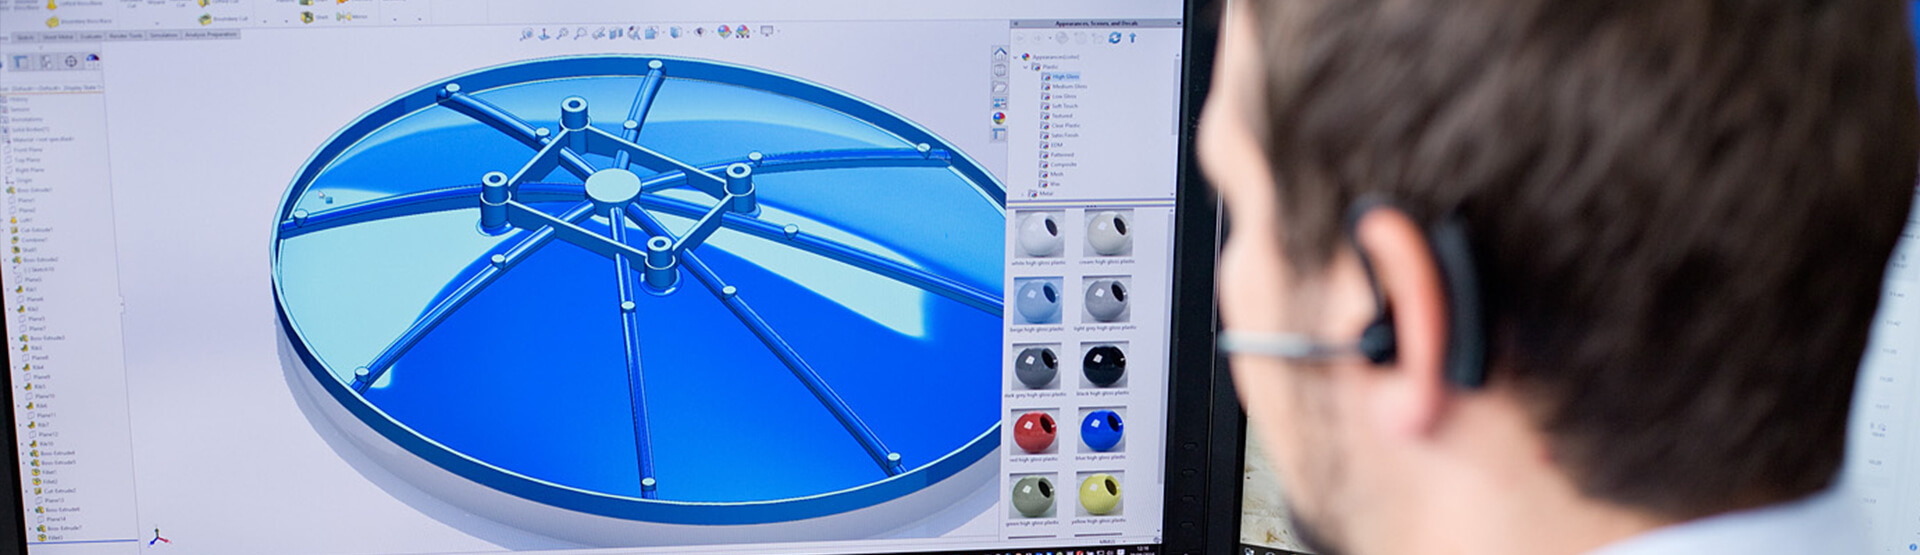
Picture the scene: The latest version of SOLIDWORKS has just come out and you’re itching to get it installed to try out all the new features. One problem though; you don’t want, or you can’t get rid of your older installation. This is quite common – in fact the Innova Systems technical support team regularly take calls from customers looking to do just this. The reasons are varied; “The company haven’t given me the go-ahead yet”, or “My client is using an older version of SOLIDWORKS and upgrading will affect the project”. The solution is pretty simple…
…this is how we do it
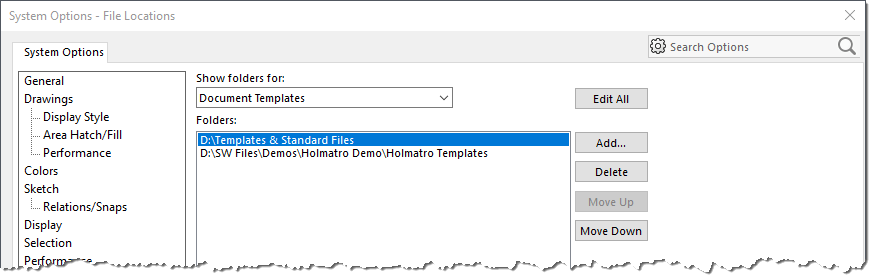
1) The first thing to think about is moving all your company specific templates/sheet formats/weldment profiles out of the standard install directories. This prevents them from being accidentally removed if you uninstall an older version of SOLIDWORKS at a later date. This is good practice even in single install environments.
2) Once these files are moved you can tell your current SOLIDWORKS install where they exist. Open Tools > Options > File Locations – choose the relevant item from the drop down and pick ‘Browse’ to look for a new location. It’s sensible to do this same process for any of the other customised items in the File Locations.
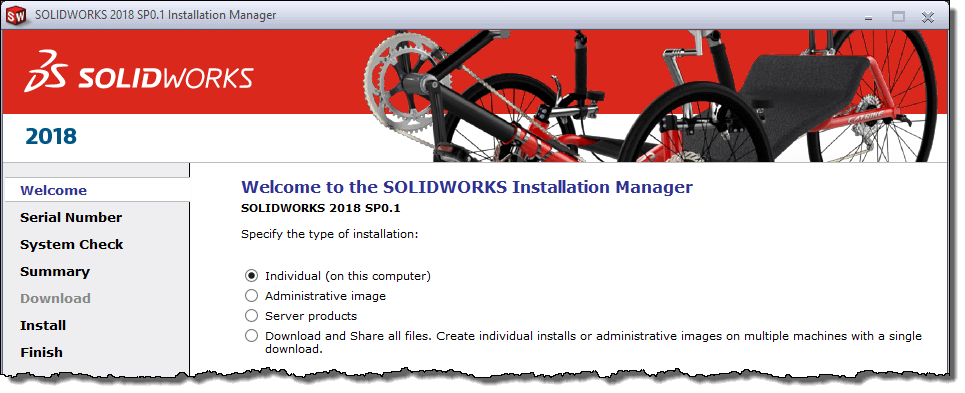
3) Start the install, either from a disc or by downloading from the customer portal at SOLIDWORKS.com
4) Start the installer and choose the ‘Individual (on this computer)’ option.
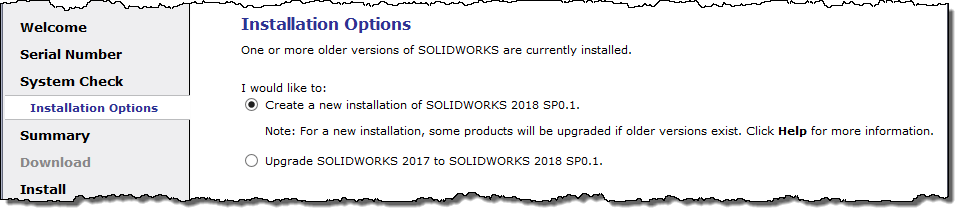
5) On the installation options page, choose to install a ‘Create a new installation’ version of the software, rather than the second ‘upgrade’ option.
6) On the install summary page, you can click change next to installation location. A different location can be specified by clicking browse on the page that follows.
7) At this point, we recommend that you append the install location with the year number, e.g. “SOLIDWORKS Corp 2018”. This allows you to differentiate the separate locations at a later date.

8) A similar process can be followed for the toolbox.
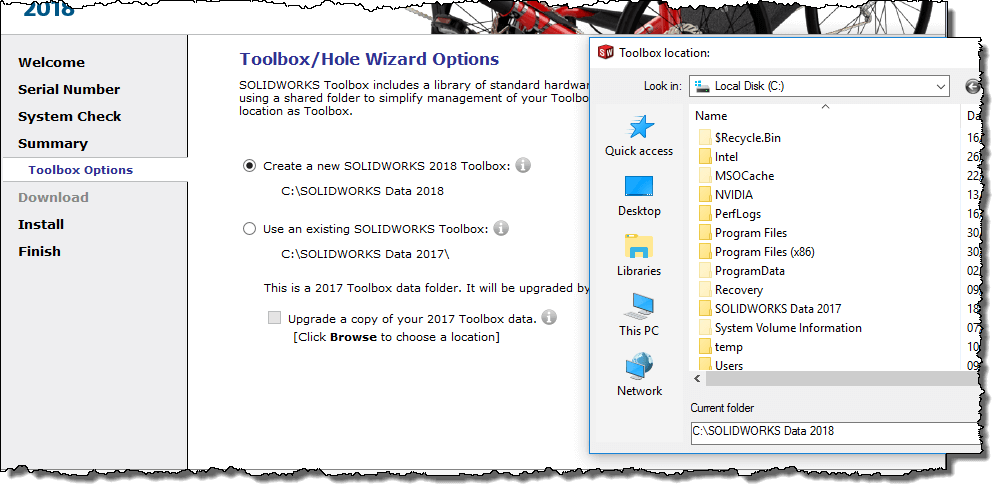
9) If you made no changes to your toolbox in the current version of SOLIDWORKS. You can choose the first option (create a new SOLIDWORKS Toolbox). Appending the location with a year number also works well here.
10) If you made toolbox modifications, and would like to keep them in the new install, choose the option to use an existing SOLIDWORKS toolbox, and tick the box to ‘Upgrade a copy of your toolbox data folder’. Your toolbox will stop working in your current install. This one is important, so make sure you do this!
That’s it – you’re ready to install SOLIDWORKS (again)!
We hope you found that useful!
Have you seen our blog archive where we have posted plenty of helpful articles? We also have a fantastic video library filled with easy-to-follow videos on a number of topics inspired by other SOLIDWORKS users – take a look. Also, don’t forget to follow Innova Systems on twitter for daily bite size SOLIDWORKS tips, tricks and videos.


